TWI

Monday, March 28, 2011
New FTU Blend Tut: Denim Splendor
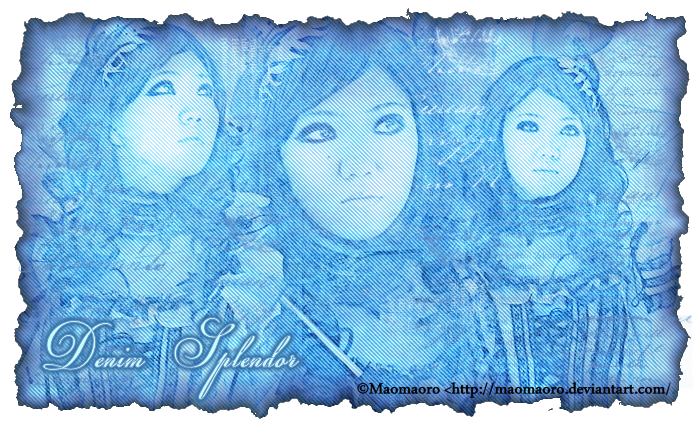
Denim Splendor : Blend Tutorial by Genita Love
for Morning Glory Designz
A working knowledge of PSP is necessary. I'm using PSP 9. Any version will suffice.
Materials Needed:
The images I'm using here are from last week's Creative Misfit's blend challenge.
The proper credit is: ©Maomaoro http:Maomaoro.deviantart.com
Xero Pastelise
Xenofex2 Burnt Edges
Penta Jeans
Shiny Icicles texture by Ro Stock. You can find it here http://ro-stock.deviantart.com/art/Shiny-icicles-70963703
Texture 43 by Sirius_sdz You can find it here: http://sirius-sdz.deviantart.com/art/Texture-43-97651997
Seasons of Winter 5 texture by Inthename Stock. You can find it here: http://inthename-stock.deviantart.com/gallery/?offset=168#/d1qr352
Seasons of Winter 13 texture by Inthename Stock: You can find it here: http://inthename-stock.deviantart.com/gallery/?offset=168#/d1rbc0j
Gorjuss Text Brushes. You can find them here: http://gorjuss-stock.deviantart.com/gallery/?offset=24#/d9amhv
Let's get started:
Open a new, transparent canvas, size 700x600.
Open your images to blend, and resize as needed to fit your canvas.
Using the clone brush, add to your canvas. (I used the maximum size setting, full opacity.)
Add a raster layer, use the clone brush again, and add the second image, position as desired.
Add a new raster layer. On the original, resized third image, go image, mirror. Add the third image.
For your main image, duplicate. For the other two, lower the opacity to 74, leaving the Blend Mode set at normal.
Use the Fuzz soft eraser, size 65, opacity 40 to erase the bits needed to blend in the images a little better. Merge visible, Crop as desired.
Duplicate your basic blend, use Xero Pastelise.
Change the blend mode to Screen, and lower the opacity to 62.
Merge Visible.
Add a new raster layer, using the magic wand tool, click on the new layer to select all. Copy the shiny icicles texture into the selection, on the layer pallet, move it to the bottom.
Add a new raster layer, use the magic wand tool to select all. Copy and paste Texture 43 into the selection, changing the blend mode to Color Legacy.
Add a new raster, use the magic wand to, click on the new layer, copy Seasons of Winter 5 texture and paste into the selection. Change the blend mode to Overlay. Use your Fuzz Soft eraser, at the same settings as before, and erase a little of the texture away in the central image's facial area.
Add a new raster layer, use the magic wand to click on the new layer. Copy Seasons of Winter 13, and paste into the selection, Change the blend mode to multiply, lowering the opacity to 38.
Use the Fuzz soft eraser again, erasing in the facial areas of the image.
Merge Visible.
Apply Penta Jeans.
Apply Xenofex2 Burnt Edges at the following settings:
Expand/Contract: 6.19; Burn width 24; Change the burn color to a dark blue in your blend, and lower the opacity to 69.
Add a new raster layer, using the dropper tool, select the lightest color, using your paint brush tool, apply the Gorjuss txt brushes as desired, adding layers selecting shades of blue from your blend, alter opacities as desired until you have a look you like.
Merge Visible.
Add Personalization. I used the Champignon font, size 36.
Add Copyright information and artist layer.
Save in the .png format.

New FTU blend Tut: Friendship

Friendship blend.- A Blend Tutorial by Genita Love for : Morning Glory Designz
Any version of Paint Shop Pro will work, I happen to be using PSP9. A working knowledge of PSP, and blending is preferred.
Materials needed:
Images to blend. I'm using the beautiful stock photography of -Isis
You can find her gallery here: http://tanit-isis-stock.deviantart.com/ Please take heed of her TOU.
Two Moon's Trekkie San
Xero Nostalgia
Your choice of textures. I'm using :
Texture 57 from Wandering Soul_Stox you can find her textures here: http://wanderingsoul-stox.deviantart.com/gallery/840039
Old _Newspaper texture by Powder Puff Jazz. You can find the texture here:
http://powerpuffjazz.deviantart.com/art/Old-Newspaper-Texture-130413322
Pretty 29 by Inthenamestock. You can find it here:
http://browse.deviantart.com/?qh=§ion=&global=1&q=pretty+29#/d15b831
Let's get started:
In PSP open a new transparent canvas, 700x 600.
Open your chosen images, and resize as needed to fit your canvas.
Copy and paste two of them in to your canvas.
Use your selections tool, set with a 38 heather. Make a small selection to blend the two together.
Add a new raster layer.
Using your Clone brush add the third image to your canvas.
Using your Fuzz soft eraser with an opacity level of 24, and the size sat at 74, lightly
erase around the third image to blend in with the other two- So as to blend it all in a little better.
Merge visible and crop as desired. - There is your basic blend!!!
Duplicate this.
Apply Two Moons Trekkie San at default settings. Change the blend mode to
over lay. Merge Visible.
Duplicate again,this time use Xero Nostalgia (You'll need to use the random button until you find a look you like.) For mine, I changed the blend mode to Multiply, and lowered the opacity to 62. Merge Visible.
Add a new raster layer.
Using your magic wand, click on your canvas, so as to select all.
Copy and paste Old Newspaper texture by Powder Puff Jazz into the selection Change the blend mode to overlay.
Copy and Paste Pretty_29 by Inthenamestock, change the blend mode to soft light.
Copy and paste Texture 57 from Wandering Soul_Stox into selection. Change blend mode to Color
Legacy.
Select None, Merge visible.
Add new raster layer, and use the Agi Brush 63. as desired. Change the blend mode to Luminance, and lowered the opacity to 46 .
From there, I added extra layers, and used additional brushes..grunge, grid,ect lowering the opacity to 46. until I had a look I liked. - Just play with it from here for a couple layers.
Merge Visible.
Go to Layers, Load Save Mask from disc, Apply mask 43 Kris. With out the transparency checked.
Add the personalization or other desired text.
Add copyright information.
Merge Visible.
Tah Duh...You're finished! Save your work...especially after all that effort.
New FTU Blend Tut...

Say what??? She's at it again? The muse is back and she's seriously torked off, and raising H E double hockey sticks with a vengeance...and that means...yes...a new tut! Please bear with me, and have patience. It's been FOUR years since I've done any tut writing...
Welcome to Morning Glory Designs...
I've been away from tagging due to some pretty extreme personal reasons. Now, I'm back...This is my Tutorial Site....I hope you'll let me know if it meets your needs or is satisfactory. (By all means, I'm open to constructive input as to how I can improve this for everyone.) It's been a good four years since I've written a tut...So,I'm sure to be a little rusty...So, please have patience with me...So...on to the good stuff!!!
Subscribe to:
Posts (Atom)